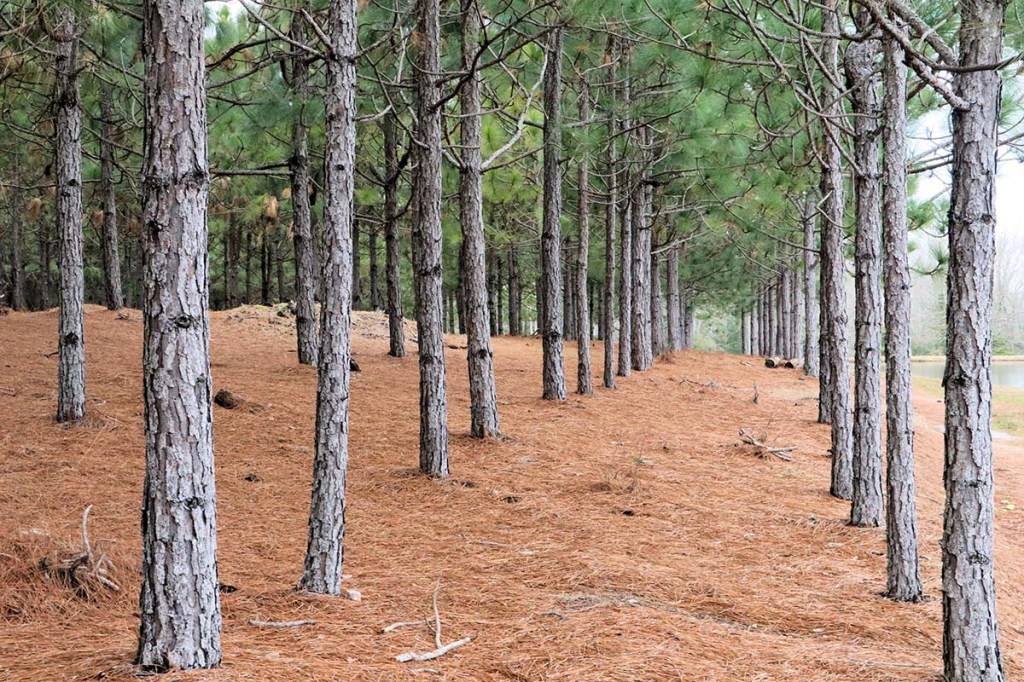
Framing lumber – I.e.: dimensional lumber – is the lumber used by builders in new home construction when, as our category foretells, we are talking about framing the new home. Framing the home and lumber…which brings us to an acronym. SPF.
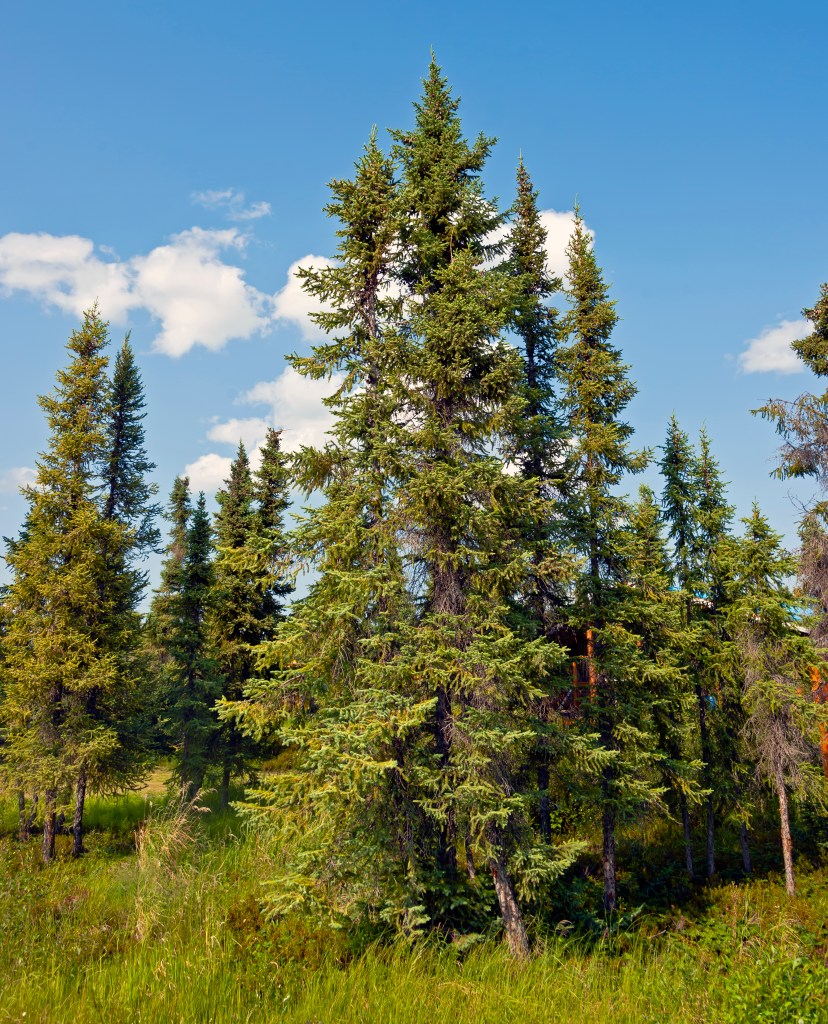
SPF. Spruce. Pine. Fir. This grouping, an attractive combination of strength and affordability. Spruce, pine and fir. More commonly referred to as SPF. The types of lumber builders use for different elements of framing.
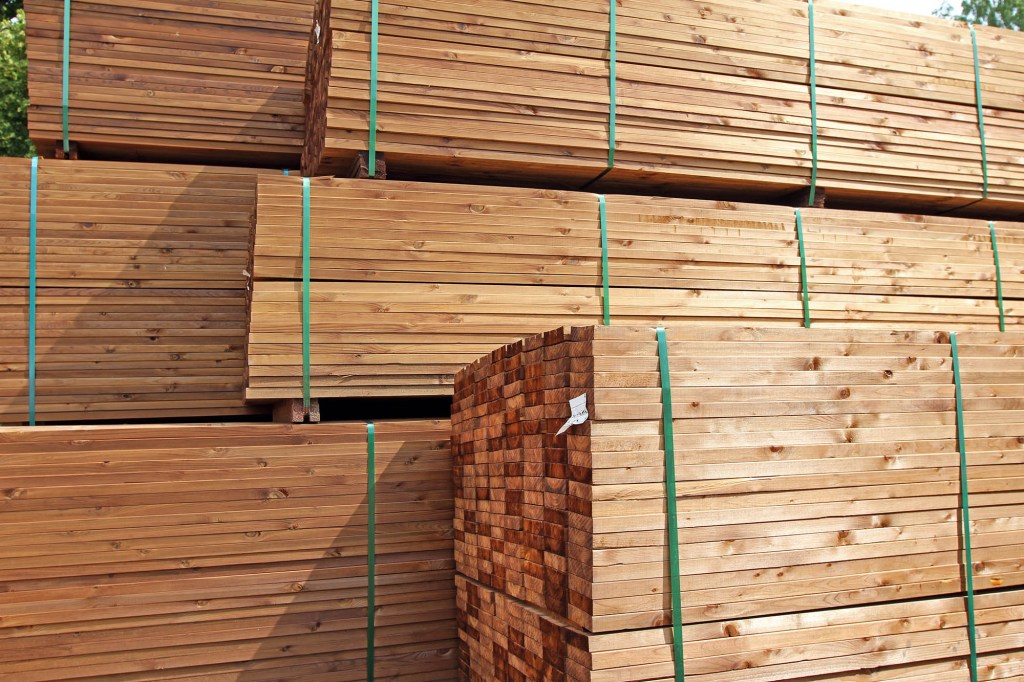
Spruce, pine and fir are milled together. By milling SPF, you end up with standard dimensions of lumber – 2 x 4’s, 4 x 4’s and 2 x 6’s.
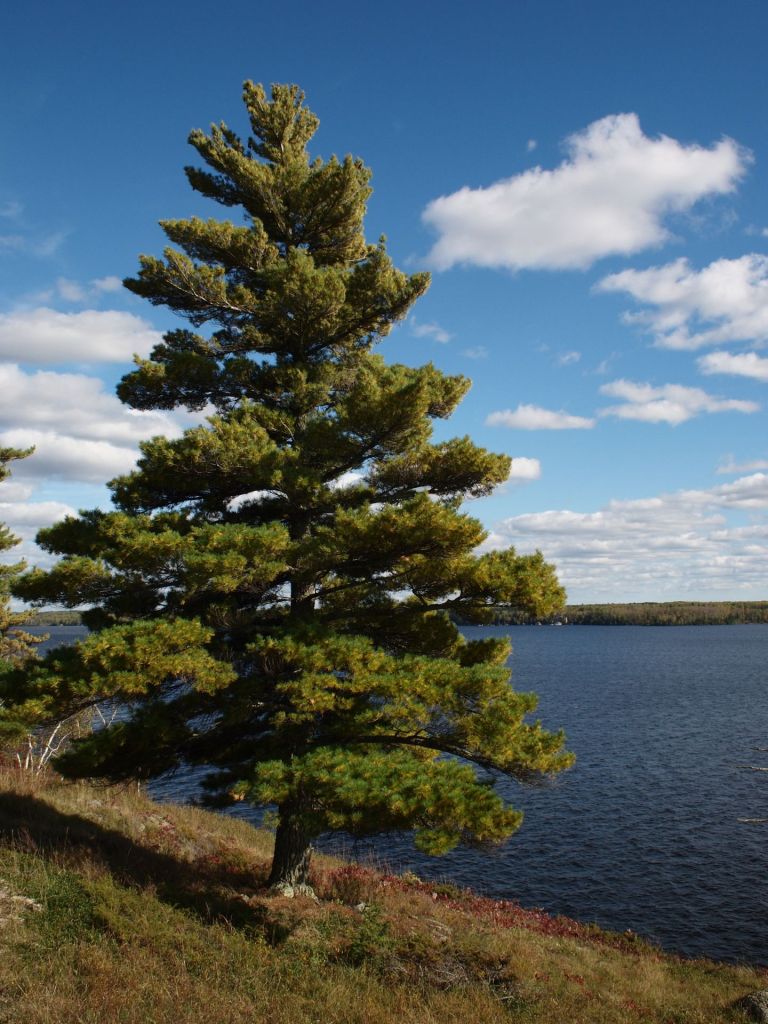
Let’s look at the “F” in our SPF – fir. Douglas fir.
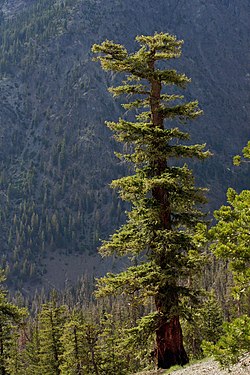
Douglas fir is a type of lumber which is a core component in new home construction. Builders use Douglas fir for joists, posts and beams. Yet, not for trusses.
Southern Yellow Pine – when using pine for this specific application – is the preferred pine when it comes time for trusses. Although the “S” in our SPF – spruce – would more typically be used by builders for trusses. Moreso, than Southern Yellow Pine.
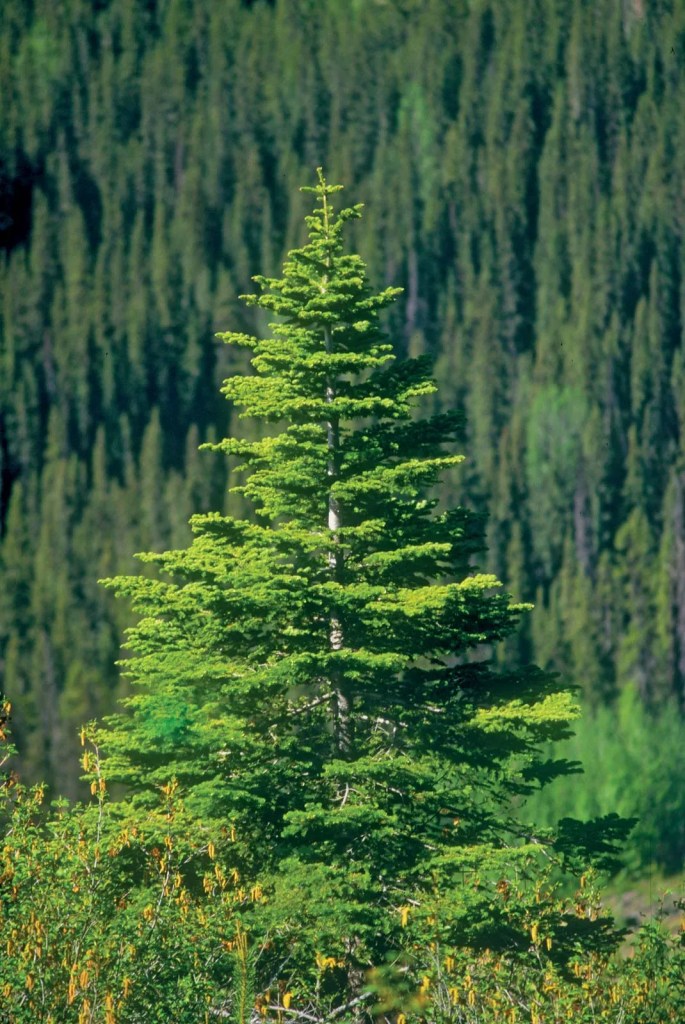
Spruce is known for its structural benefits. Hence, the use of spruce for trusses. Spruce is also known for its keen aesthetics.
While spruce is used in load-bearing capacities – I.e.: for trusses (as well as for floor joists and wall studs) – spruce is also used for interior finishes. Paneling. Molding. Trim. Spruce takes paint and stain quite well. Hence, the utilization of spruce for interior finishes.
Let’s look at the pricing of spruce…
One 1 x 3 x 16 board of spruce can be purchased by builders at, in the range of, $8.00/piece. While one piece of 1 x 4 x 16 spruce would be priced, in the range of, $10/piece.
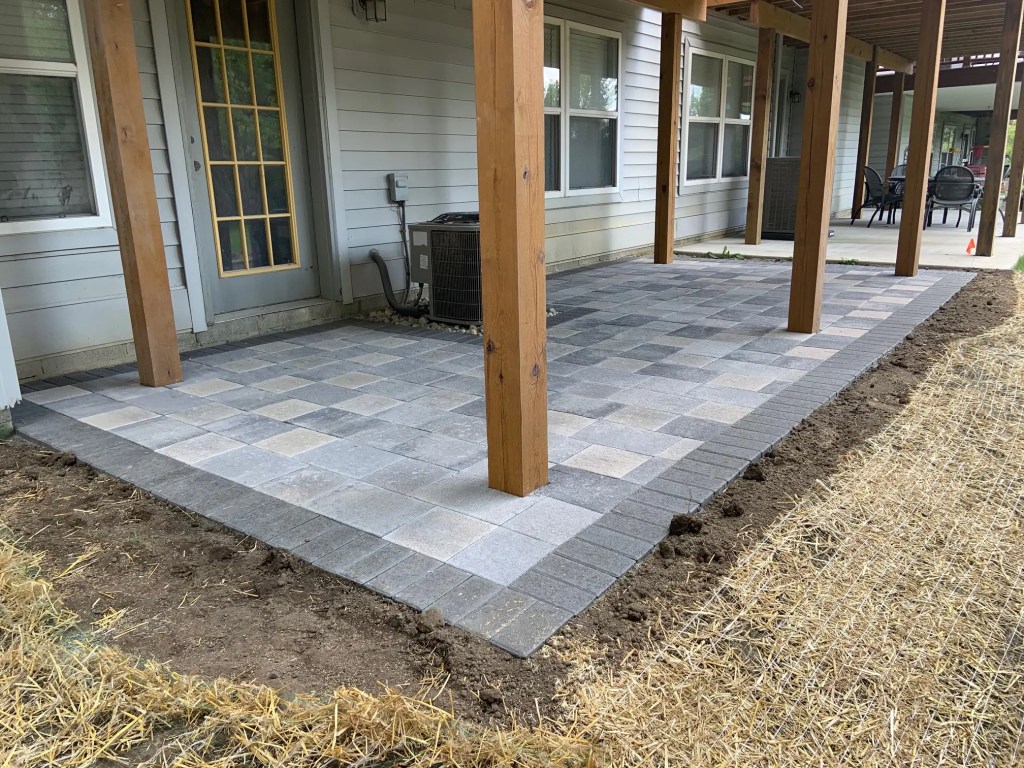
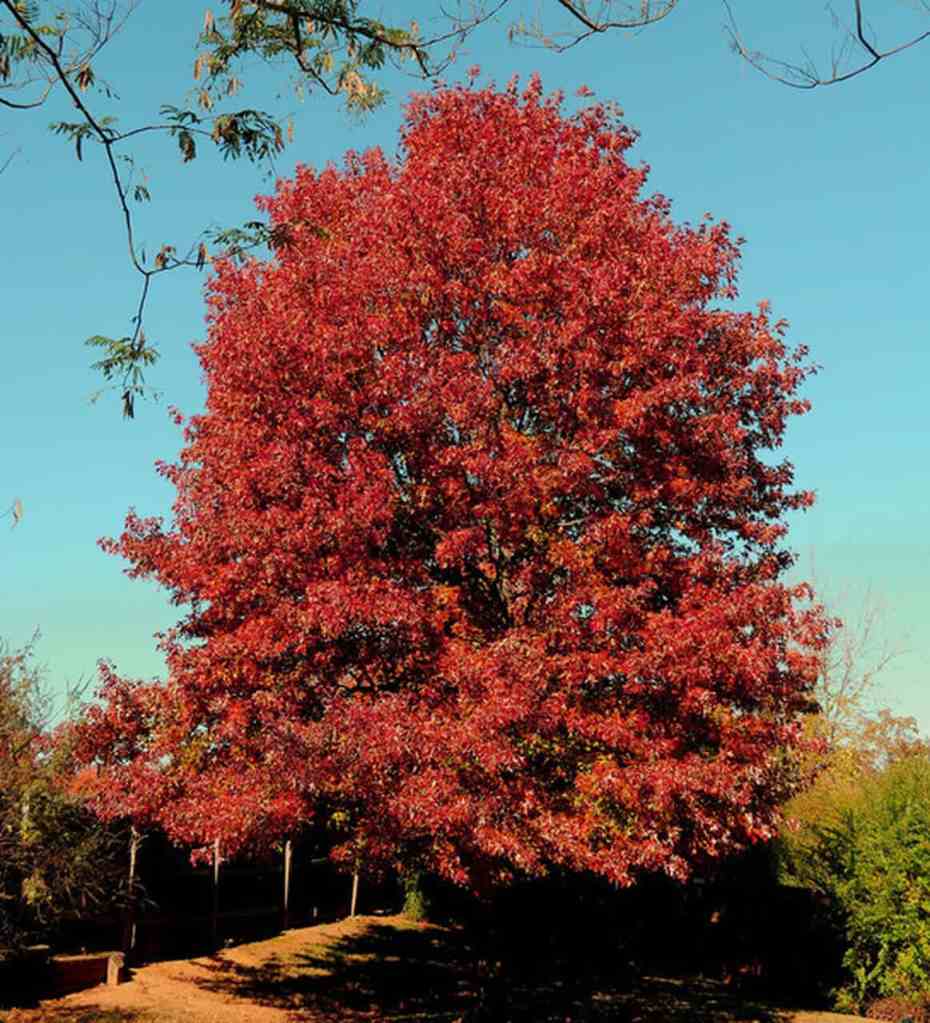
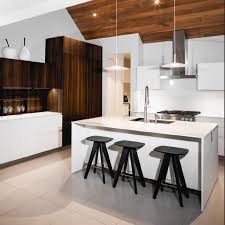
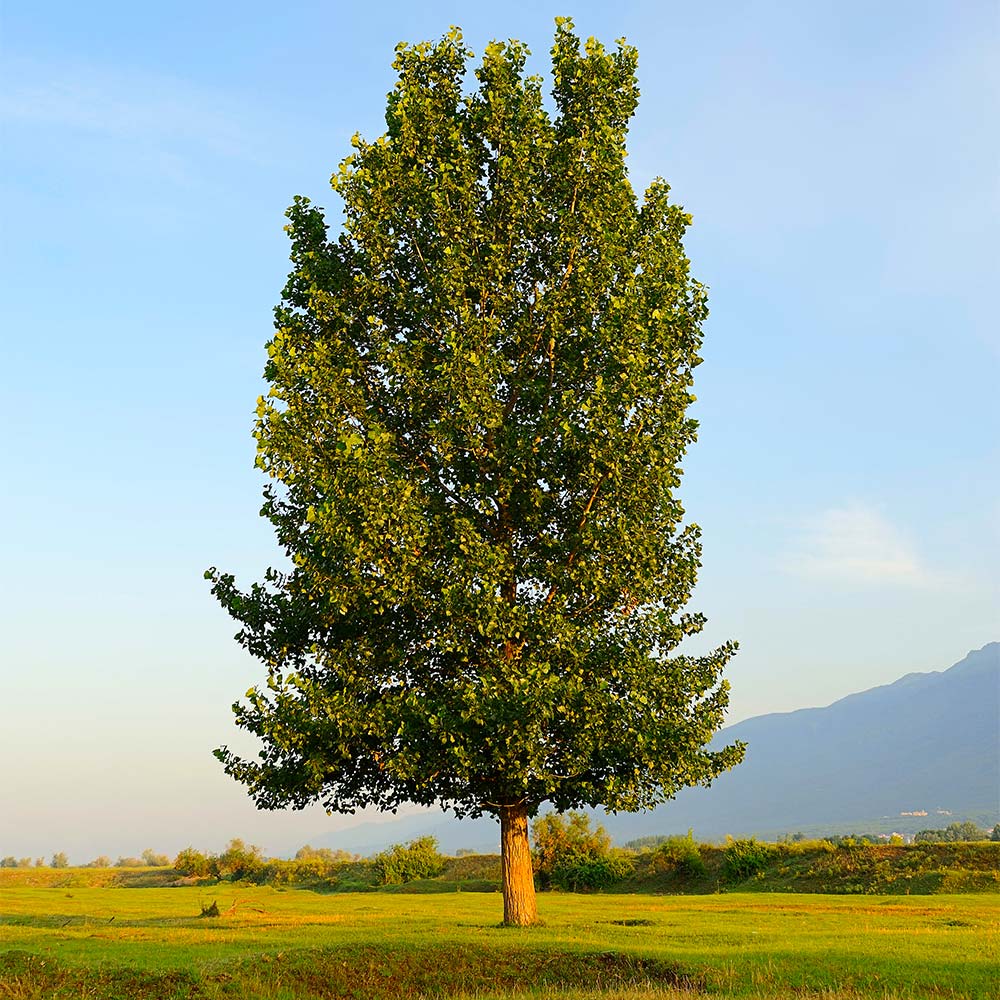
In regard to the flooring, the trim and the cabinetry going into the new home, builders utilize a hardwood. Commonly, builders will use oak.
There are several reasons why oak is not used by builders for framing. First off, oak tends to be pricier than SPF. While the (general) higher cost of oak – as compared to SPF – makes oak cost prohibitive when it comes time to frame the new home, cost is not the only reason homes are not framed with oak. Nor the main reason.
Oak has a tendency to split when nailed. So framing and oak? Quite simply, that’s just a bad “marriage.”
Let’s look, for a moment, into how much lumber a builder will need in order to build a home…
To construct one 4,000 square foot home, a builder will typically use between 20,000 to 25, 000 board feet of lumber. Which brings us to the “F” in our SPF – fir. Douglas fir.
Douglas fir is one of the strongest – and the most durable – woods available to builders. This combination of strength and durability makes Douglas fir the optimal choice for builders when it comes time to frame the home.
Douglas fir possesses exceptional dimensional stability. Furthermore, Douglas fir is not prone to warp. Nor to twist. Douglas fir…great for framing.
Let’s look, for a moment, at lumber prices…
For flooring, trim and cabinetry, builders like oak. So how much does oak cost? Well, that depends.
4/4 Red Oak, 1-99 board feet, is priced in the range of $5.00/board foot. Which means, Red Oak would be classified as a rather inexpensive type of oak.
Whereas Red Oak is a rather inexpensive type of oak, 4/4 Spessart Oak, 1-99 board feet, will range in price from between $22/board foot to $25/board foot. As compared to Red Oak, Spessart Oak would then be classified as a rather expensive type of oak.
Spessart Oak – consisting of a fine texture – is a white oak found in the Spessart Forest in Germany.
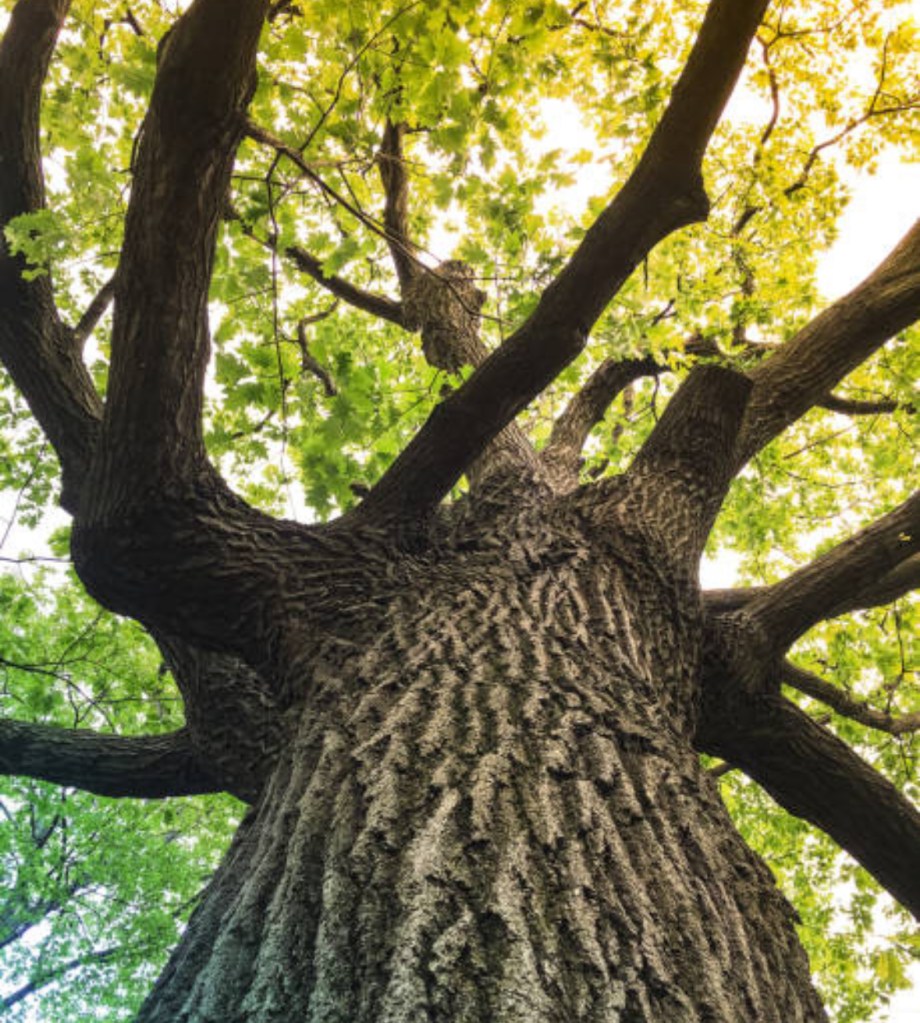
Red Oak is native to Canada – Nova Scotia and Ontario – as well as to the United States – Georgia, Mississippi, Nebraska and Oklahoma.
The new home the builder builds will, more likely than not, have oak cabinets. So, the type of cabinets the builder selects – combined with the type of oak used for those cabinets – will correlate to cabinet quality. And to cost. For example, using the two aforementioned types of oak – Red and Spessart – Spessart Oak cabinets will be more costly than Red Oak cabinets.
We examined the cost of oak. As the type of oak – ranging from $5.00/board foot for Red Oak to $22 to $25/board foot for Spessart Oak – is determinative of the builder’s costs, in regard to his or her utilization of oak. As then so too will be the type of lumber used – in this case, oak – when it comes to the price of the home. Once construction of the home is complete.
So let’s now look at SPF once again. This time, let’s look at the “P” – pine. And let’s look at the price of pine.
The price of pine has a range. From mid-$2.00/board foot. To a high of $3.00/board foot.
For example…
Builders can order 4/4 Eastern White Pine at a price of $2.50/board foot.
While Poplar – a different type of pine – is more expensive. Poplar can be ordered by builders at $3.75/board foot.
When building the home, White Pine and Poplar would be used for decorative elements. For interior trim. As well as for paneling.
So let’s look at framing. And lumber costs. For our 4,000 square foot home.
4 x 4 Douglas fir will range in price from $10.00/board foot to $16.00/board foot.
Let’s use a Douglas fir price of $15.00/board foot for our new 4,000 square foot home. And let’s say the builder needs 25,000 board feet of Douglas fir to build that new home.
25,000 board feet of Douglas fir – at a price of $15/board foot – would give us a total lumber cost of $375,000.